
Connect · Premium
Connect supported AI assistants with API tokens
Create a scoped, expiring token, connect a supported assistant, and revoke access when finished.
Before you start
AI → AI Agents, or Profile → Settings → API Tokens
Have ready
- Premium access
- A supported AI client
Step by step
Walkthrough
- 01
Open API Tokens
Choose AI Agents and open token management. Read the access explanation before creating anything.
- 02
Create a limited token
Give the token a recognizable name and choose the shortest practical expiry and available scope.
- 03
Copy it once and connect
Paste the token only into the supported client configuration. Do not place it in chat, screenshots, source code, or shared notes.
- 04
Test a read action
Use a low-risk request to confirm the assistant is connected to the intended CalorieGram account.
- 05
Revoke access
Return to API Tokens and revoke the token when the client is no longer used or whenever exposure is suspected.
What you will see
These screens show the current app layout. Platform-specific labels and controls are noted below.
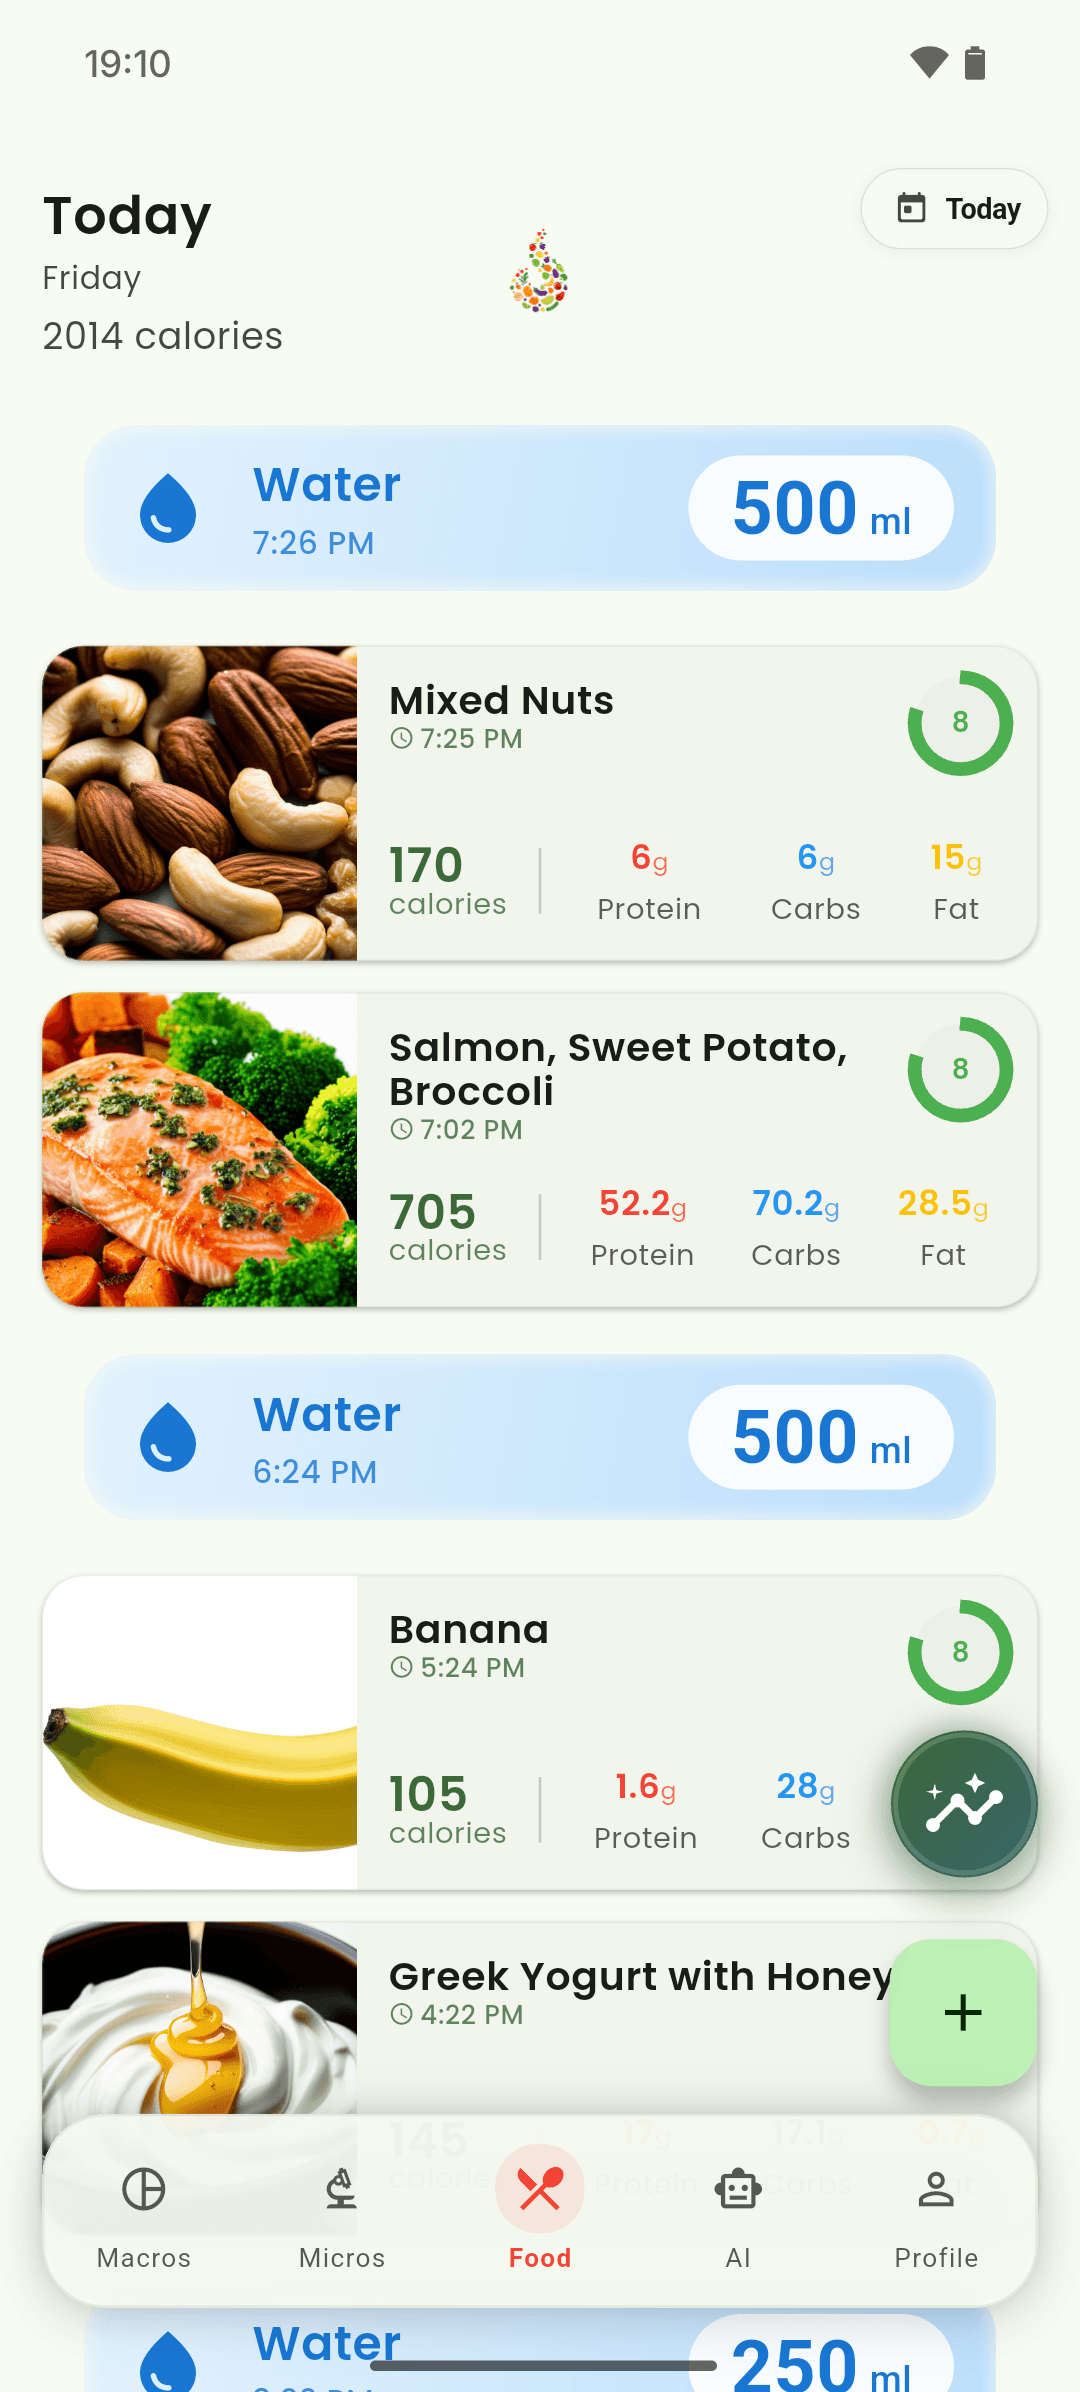
iOS and Android
iOS
- Treat every API token like a password. CalorieGram support should never ask for its value.
Android
- Treat every API token like a password. CalorieGram support should never ask for its value.
If something looks wrong
- Create a new token instead of reusing an exposed one.
- Check expiry and revoke status if a previously working connection stops.
Keep learning
Still need a hand?
Tell us which step you reached and what you expected to happen. We will help you find the next move.
Contact support